


1/4.5 T-38C Talon scratch build


The following users liked this post:
Viper1GJ (08-02-2021)
 10-20-2021, 11:10 AM
#159
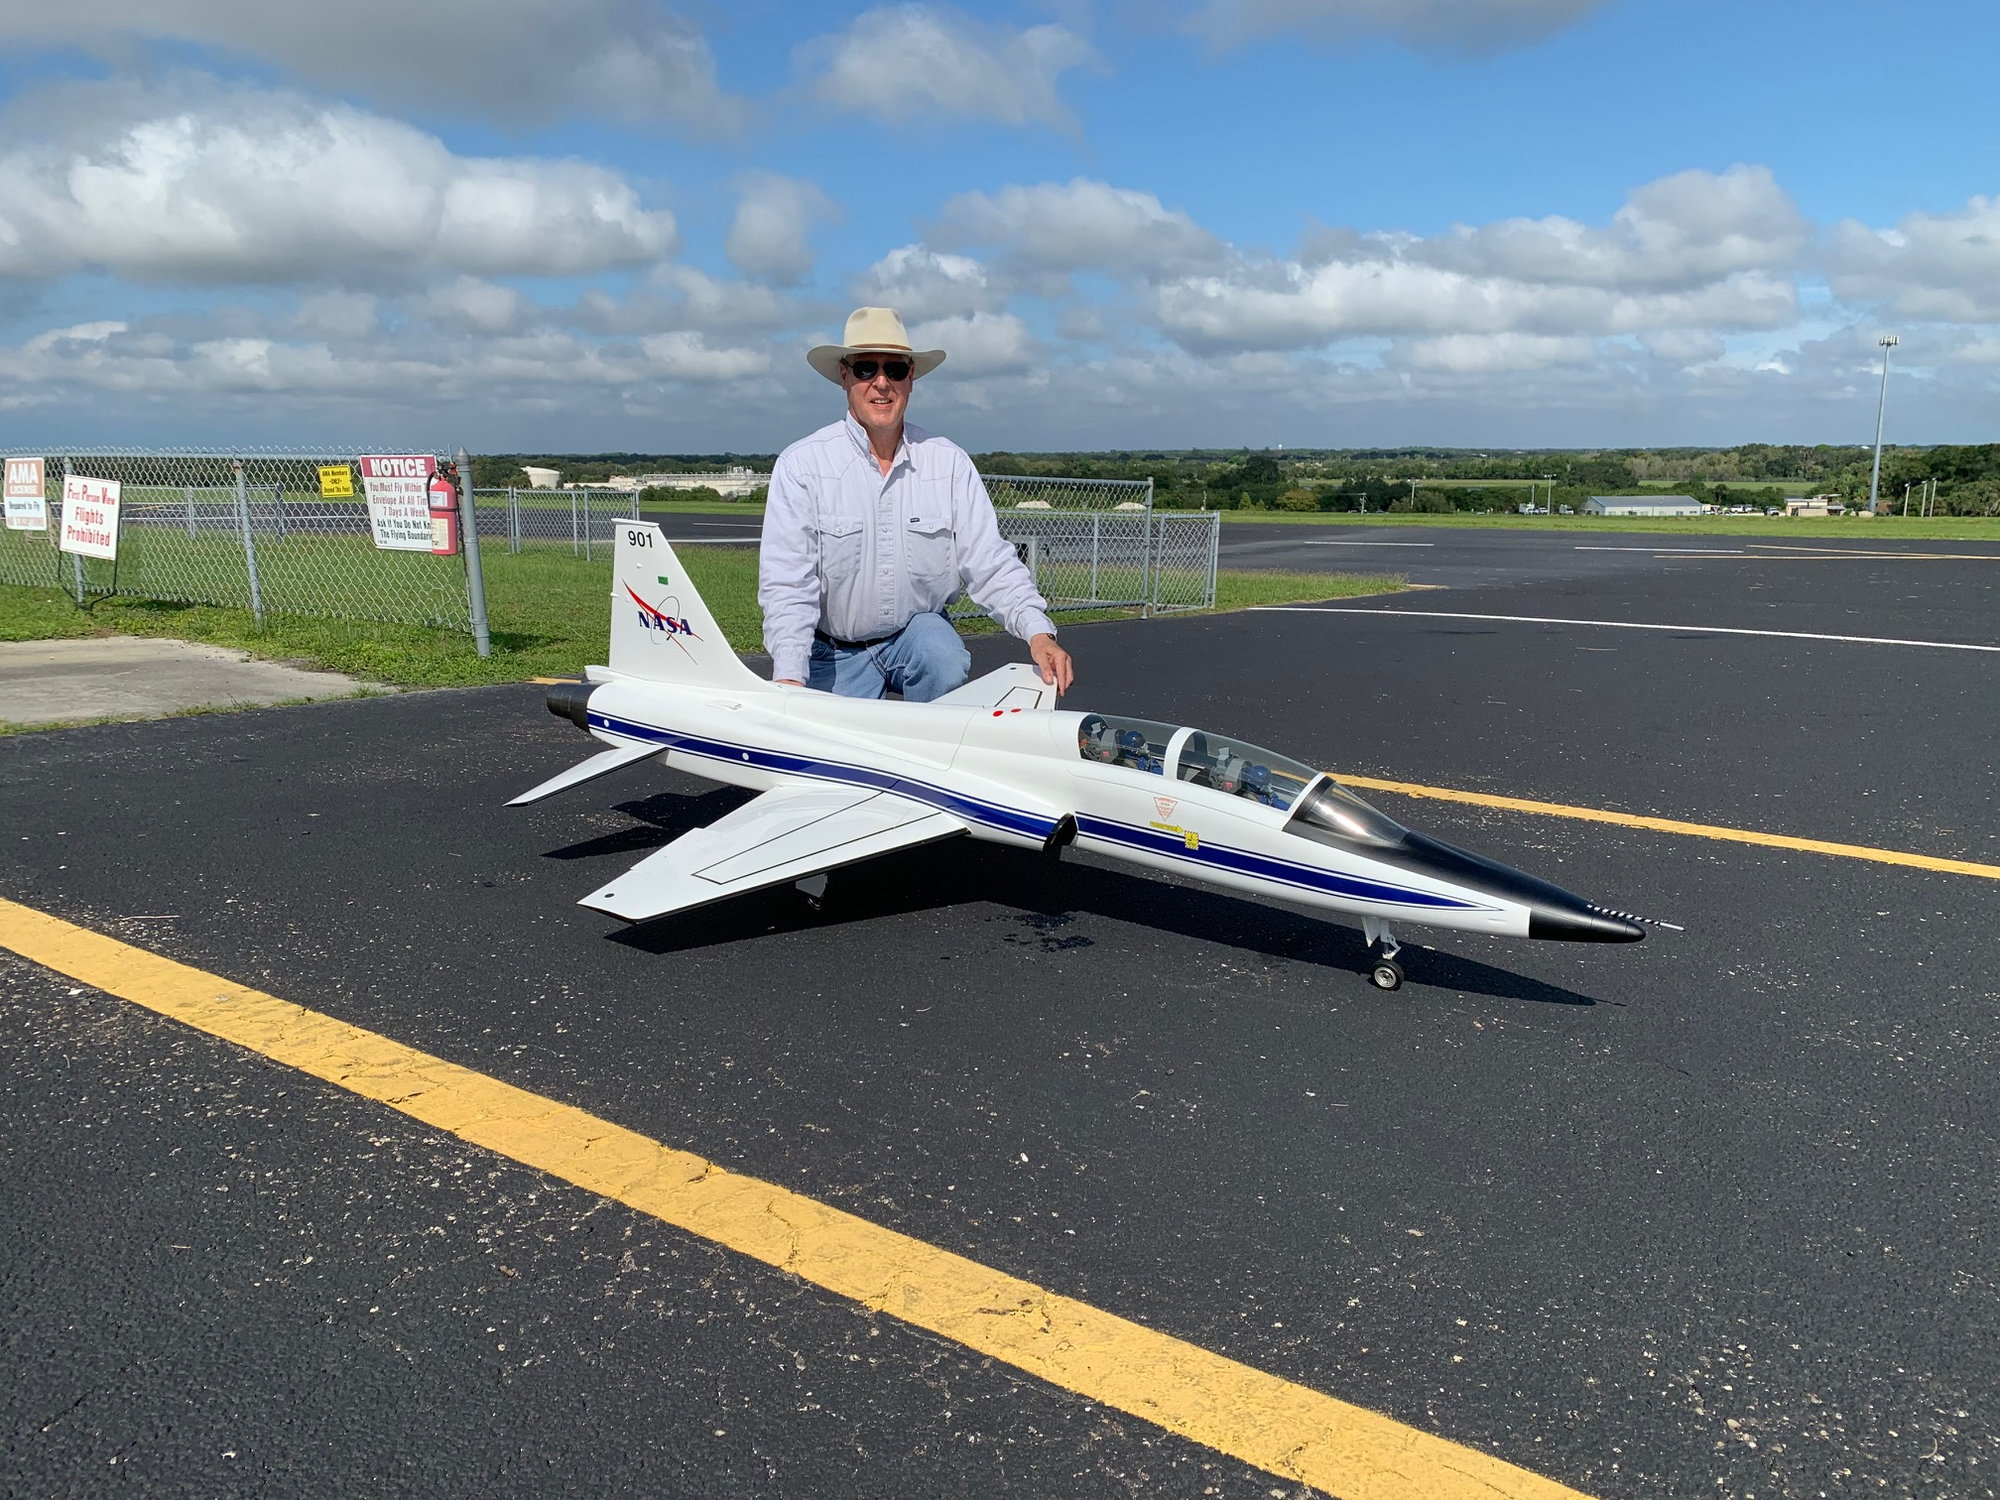
Its been awhile, but my 1/4 Beech Starship repairs are more or less complete until i get some more flight time on it… so now its time to make some progress on the T38.
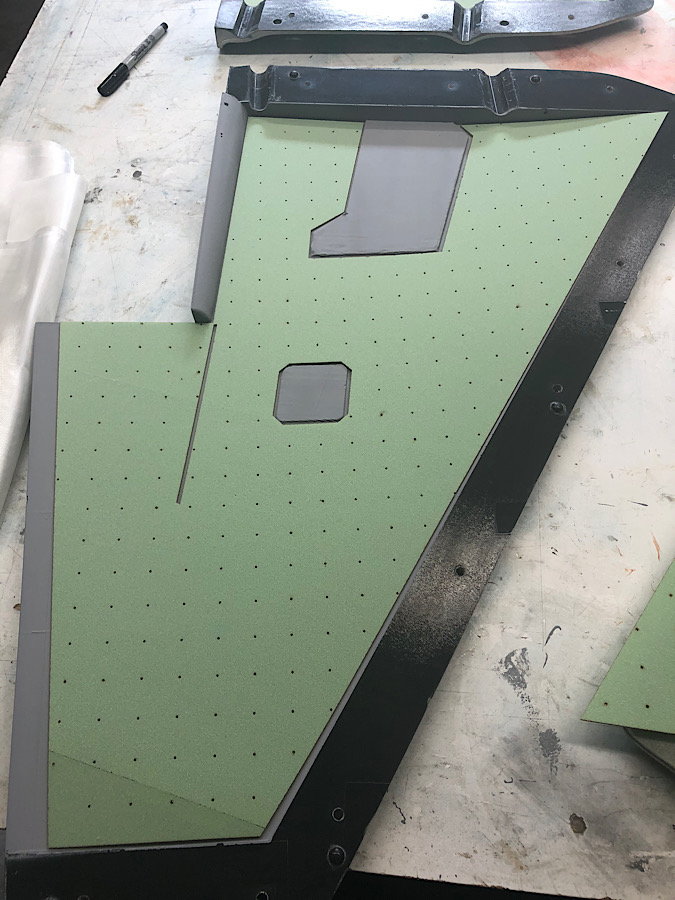
the first tasks were checking the fit or the paper test template for the airex cores and also refining the size of the plastic template that will be used for the carbon fiber skin layers.
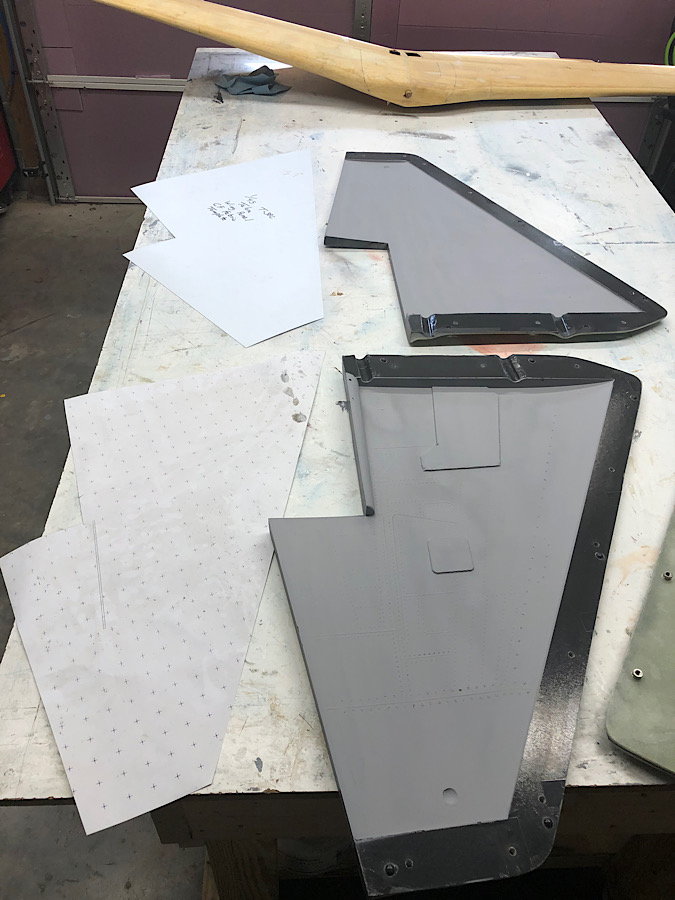
Once the paper template were proven to fit, i cut out the airex cores on the laser cutter. I am putting alot of extra CAD time to do things like these laser cut core and fabric layers for future production… if that will be me or some other entity has yet to be decided. Lol
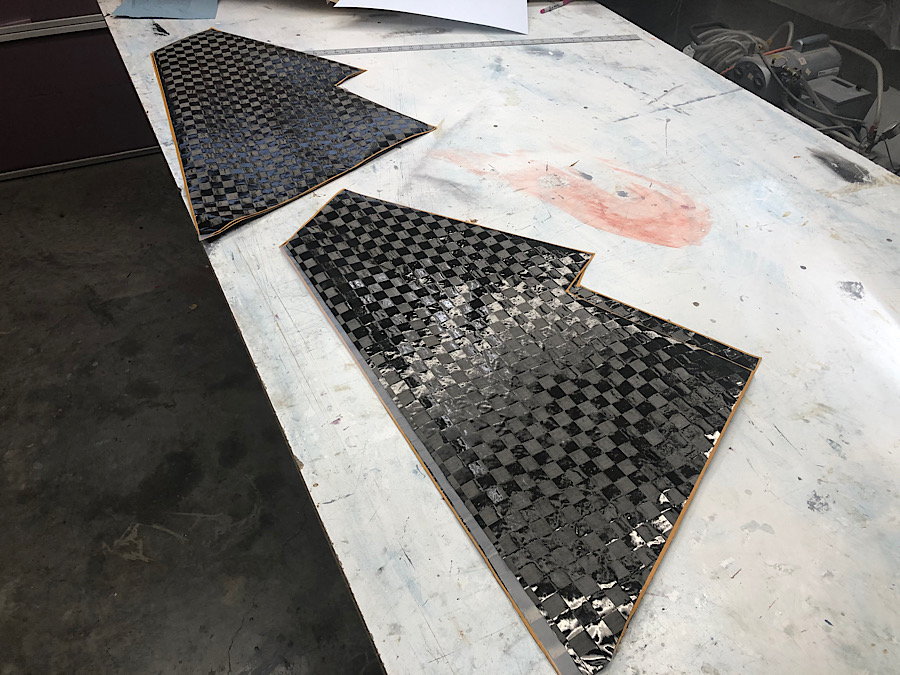
Using the plastic template earlier, the spread tow fabric layers were arranged and outlined in 1/4” masking tape. The CF layers are arranged on the bias to the wingspan to increase torsionally rigidity since the substantial internal structure should more than suffice for the bending loads.
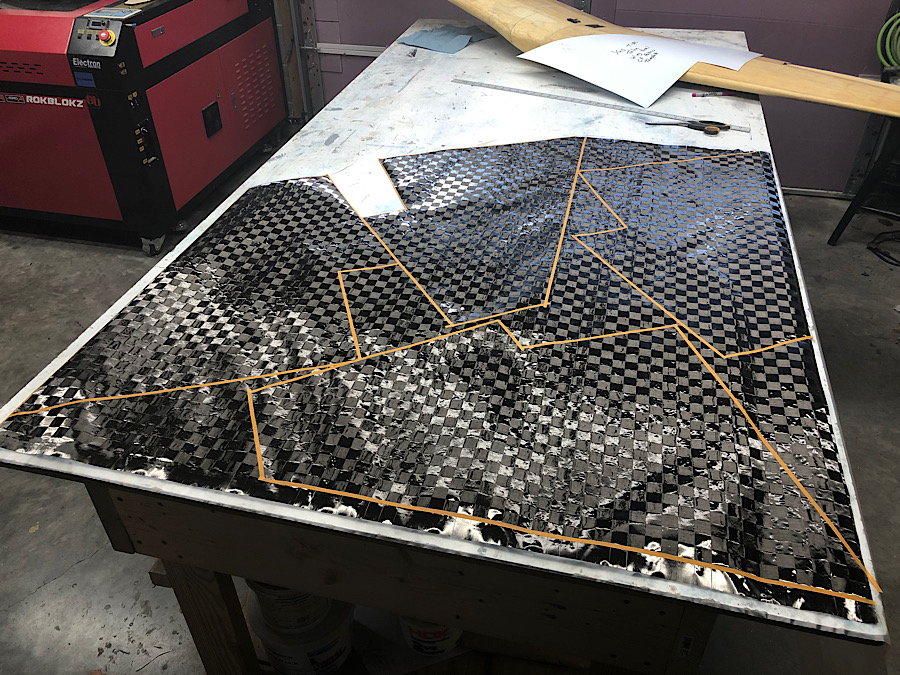
Here are the CF layers after bein cut out. I cut down the center of the masking tape as this allows a very narrow edge of tape to ensure the fabric weave doesn’t get distorted or begin to fray.
the first tasks were checking the fit or the paper test template for the airex cores and also refining the size of the plastic template that will be used for the carbon fiber skin layers.
Once the paper template were proven to fit, i cut out the airex cores on the laser cutter. I am putting alot of extra CAD time to do things like these laser cut core and fabric layers for future production… if that will be me or some other entity has yet to be decided. Lol
Using the plastic template earlier, the spread tow fabric layers were arranged and outlined in 1/4” masking tape. The CF layers are arranged on the bias to the wingspan to increase torsionally rigidity since the substantial internal structure should more than suffice for the bending loads.
Here are the CF layers after bein cut out. I cut down the center of the masking tape as this allows a very narrow edge of tape to ensure the fabric weave doesn’t get distorted or begin to fray.
10-20-2021, 11:16 AM
#160
Next up was doing the first set of wing skin layups.
I made up a batch of spooge (epoxy, milled fibers and cotton flock) to use to fill in the corners of the molds.
The first layer of glass was then put in place, followed by the CF.


Next up, the airex cores were put in the mold and epoxy was generously brushed in to “prime” the airex.

The inner skin reinforcement layers of CF were then put in around the main landing gear/wing tube structure locations and where the aileron servo mount plate will be.


After all that, the final layer of glass was put on, followed by peel plu, perforated plastic and breather/bleeder fabric. All was placed in the vacuum bag and sucked down to 20” of vacuum.


I made up a batch of spooge (epoxy, milled fibers and cotton flock) to use to fill in the corners of the molds.
The first layer of glass was then put in place, followed by the CF.
Next up, the airex cores were put in the mold and epoxy was generously brushed in to “prime” the airex.
The inner skin reinforcement layers of CF were then put in around the main landing gear/wing tube structure locations and where the aileron servo mount plate will be.
After all that, the final layer of glass was put on, followed by peel plu, perforated plastic and breather/bleeder fabric. All was placed in the vacuum bag and sucked down to 20” of vacuum.


 10-21-2021, 07:58 AM
#165
LoL.. That alone makes it worth it! Even with the laser doing more than 1/2 the work for cutting out the glass and core layers, it still takes about 3 hours to just get everything for the actual layup prepped and ready.. that doesn't include any mold prep or spraying the primer coat. so in total, its about 4-5 hours of work just in "prep" then another 3 hours in skin layups... then you still have to do all the internal stuff! There is easily 15-20 hours of labor in just a pair of wings.
10-21-2021, 04:20 PM
#167
i got the left wing skins layed up this morning, then pulled them out of the bags and trimmed them.


i also got the horizontal stab molds out and cut the airex core for those and checked the fit.

the plastic CF fabric template was also checked and adjusted.

im planning to get the horizontal stab skins layed up tomorrow before i leave for work on friday.
Once i get home next time, i’ll start test fitting all of the internal structurs and hopefully get a pair of wings and stabs closed up.
i also got the horizontal stab molds out and cut the airex core for those and checked the fit.
the plastic CF fabric template was also checked and adjusted.
im planning to get the horizontal stab skins layed up tomorrow before i leave for work on friday.
Once i get home next time, i’ll start test fitting all of the internal structurs and hopefully get a pair of wings and stabs closed up.
The following users liked this post:
Viper1GJ (10-21-2021)
 11-22-2021, 05:39 PM
#170
i did the Horizontal stab skin layups a few weeks back, then got side tracked with return to work training.
Today I got the wing structure test pieces cut put on the laser and checked out. A few adjustments are needed here and there, but they are generally ready to go.
The horizontal stab pivot shafts, pivot spare and the aft carbon sock spar were also made up. All that fit well, so it all got wet out, splooged and is now closed up and curing overnight. I’ll have a set of Horizontal stabs tomorrow morning.
 11-23-2021, 06:37 AM
#173

 11-23-2021, 09:25 AM
#174
The Horizontal stabs are out of the molds and fit the fuselage extremely well. Up next will be to get the remained of the wing internals fine tuned, cut out and closed up. Once that is done, it will be back to the fuselage with the canopy frames being the first items to get finished and detailed. Those will then get molded so the fuselage plug can be fine tuned so those pieces fit perfectly.


The following users liked this post:
Auburn02 (11-23-2021)
11-23-2021, 01:08 PM
#175

My Feedback: (20)
[QUOTE=invertmast;12703792]... so it all got wet out, splooged and is now closed up and curing overnight.../QUOTE]
Thomas,
What is your recipe for splooge and what tool do you use to apply it?
Thank, Gary
Thomas,
What is your recipe for splooge and what tool do you use to apply it?
Thank, Gary