


1/4.5 T-38C Talon scratch build


 03-25-2020, 01:21 PM
#78
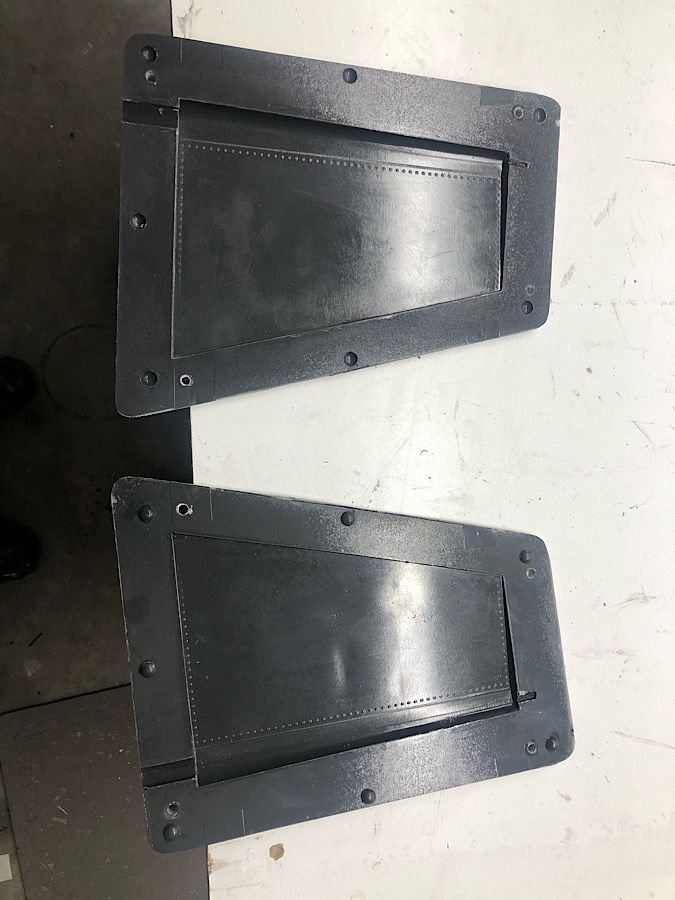
First halves of the T38 horizontal stabs and rudder molds are done:
abrasion resistant surface resin in place
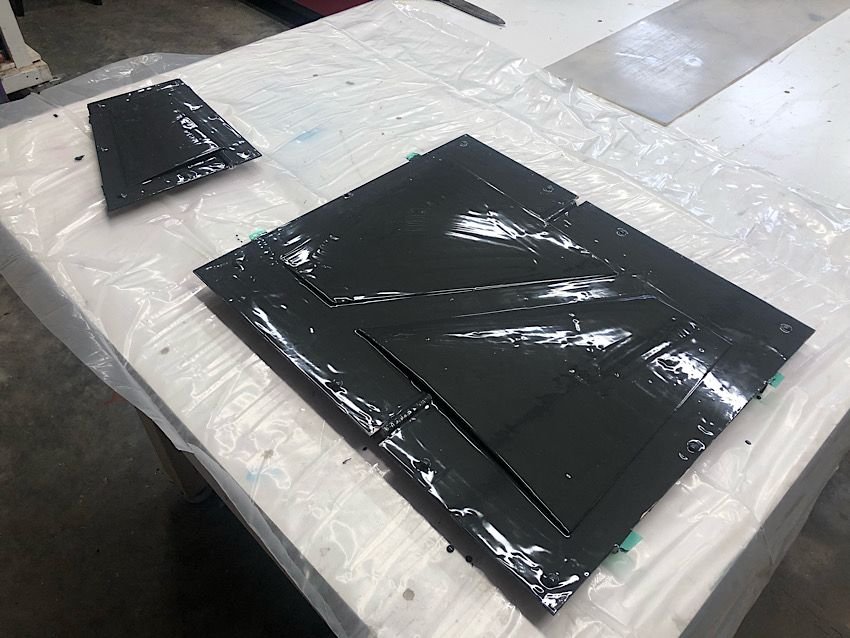
First 4 glass layers in place and epoxy tooling dough to beef up the edges of the rudder mold and thicken up the horizontal stab molds to provide some additional rigidity.

last 4 layers of fiberglass down. This half of these molds are now down.
abrasion resistant surface resin in place
First 4 glass layers in place and epoxy tooling dough to beef up the edges of the rudder mold and thicken up the horizontal stab molds to provide some additional rigidity.
last 4 layers of fiberglass down. This half of these molds are now down.
03-25-2020, 06:42 PM
#79

Thomas,
Great work on the molds. Your parting planes and process looks familiar
Questions
What are you using for your alignment dots?
How do you like the tooling putty? I've been making up a thick epoxy mixture with thixotropic silica to support the sharp corners of the mold surface coat before I start laying up the glass. Does putting some glass down first then using the putty work better, and force the glass into the corners?.
I seem to have settled on using 6 layers of 9oz satin twill weave for my molds - it works out to be a 2-3mm thickness and seems plenty stiff once cured.
Rav,
Thanks for the vote of confidence, but I'll stick to model building. I'm the most apolitical person you've ever met. Wouldn't touch that job with a barge pole!
Glad you are enjoying my stumbles through self-taught scratch building. I'm also working on a Spitfire using similar methods that is turning out reasonably well.
Paul
03-25-2020, 07:40 PM
#80
Thomas,
Great work on the molds. Your parting planes and process looks familiar
Questions
What are you using for your alignment dots?
How do you like the tooling putty? I've been making up a thick epoxy mixture with thixotropic silica to support the sharp corners of the mold surface coat before I start laying up the glass. Does putting some glass down first then using the putty work better, and force the glass into the corners?.
I seem to have settled on using 6 layers of 9oz satin twill weave for my molds - it works out to be a 2-3mm thickness and seems plenty stiff once cured.
Rav,
Thanks for the vote of confidence, but I'll stick to model building. I'm the most apolitical person you've ever met. Wouldn't touch that job with a barge pole!
Glad you are enjoying my stumbles through self-taught scratch building. I'm also working on a Spitfire using similar methods that is turning out reasonably well.
Paul
Great work on the molds. Your parting planes and process looks familiar
Questions
What are you using for your alignment dots?
How do you like the tooling putty? I've been making up a thick epoxy mixture with thixotropic silica to support the sharp corners of the mold surface coat before I start laying up the glass. Does putting some glass down first then using the putty work better, and force the glass into the corners?.
I seem to have settled on using 6 layers of 9oz satin twill weave for my molds - it works out to be a 2-3mm thickness and seems plenty stiff once cured.
Rav,
Thanks for the vote of confidence, but I'll stick to model building. I'm the most apolitical person you've ever met. Wouldn't touch that job with a barge pole!
Glad you are enjoying my stumbles through self-taught scratch building. I'm also working on a Spitfire using similar methods that is turning out reasonably well.
Paul
Paul,
the laser cut parting planes are a life saver!
im using rubber furniture bumpers for the alignment dots. The ones on these are about 3/8� diameter 1/2round style.
as for the putty/dough, the stuff is awesome. I have used it on numerous other projects and if works great for doing small molds like gear doors, hatches, etc.
i put 1-2� wide strips of glass on the parting plane surface with the edge butted up into the corners by the parts. I then mixed up chopped CF strands and epoxy into a moderately dry mixture and put that into the corners to act as a fillet. Then 2oz glass went over it all and i pressed firmly into the CF filled area�s to help remove any air bubbles from the mixture.
i put the tooling putty/dough between the layers of 22oz to help add some additional rigidity to the entire layup.
From trimming the excess, it looks like just the glass area�s is about 2-3mm thick. In total it took about 3 1/2 hours to do these mold halves.
 03-26-2020, 04:52 AM
#82
Thomas,
Thanks.
That is a great idea, and that provides more direct reinforcement to the surface coat that an initial fillet of thickened epoxy. I'll try that on my next one.
My laser crapped out the other day, after nearly 2.5 years of use. Not bad I guess for a cheap laser, but currently over 1month delivery of a new tube. Back to CAD work in the mean time.
Paul
Thanks.
i put 1-2” wide strips of glass on the parting plane surface with the edge butted up into the corners by the parts. I then mixed up chopped CF strands and epoxy into a moderately dry mixture and put that into the corners to act as a fillet.
My laser crapped out the other day, after nearly 2.5 years of use. Not bad I guess for a cheap laser, but currently over 1month delivery of a new tube. Back to CAD work in the mean time.
Paul
03-26-2020, 06:01 AM
#83
Thomas,
Thanks.
That is a great idea, and that provides more direct reinforcement to the surface coat that an initial fillet of thickened epoxy. I'll try that on my next one.
My laser crapped out the other day, after nearly 2.5 years of use. Not bad I guess for a cheap laser, but currently over 1month delivery of a new tube. Back to CAD work in the mean time.
Paul
Thanks.
That is a great idea, and that provides more direct reinforcement to the surface coat that an initial fillet of thickened epoxy. I'll try that on my next one.
My laser crapped out the other day, after nearly 2.5 years of use. Not bad I guess for a cheap laser, but currently over 1month delivery of a new tube. Back to CAD work in the mean time.
Paul
yea i have tried various things over the year to prevent the molds from chipping in corners, nothing seems 100% full proof, you almost have to put the glass cloth into the corner while the surface coat is right before the point where you can leave a fingerprint, but not transfer the surface coat to you finger. That way the glass kind of �sinks� into the surface coat.
if there�s anything i can cut for you, let me know....
thomas
 04-03-2020, 04:46 PM
#86
Alright!!!!!
Got some Ho229 goodness done and got around to some T38 goodness.
First up, i opened up and washed the rudder mold, it turned out Awesome.. so now i need to do the same to the Horizontal stabs so i can get these molds cleaned and Frekote�d:
I also got the flaps in their parting planes with the gaps filled, waxed and then sprayed PVA, im planning to mold these this weekend.
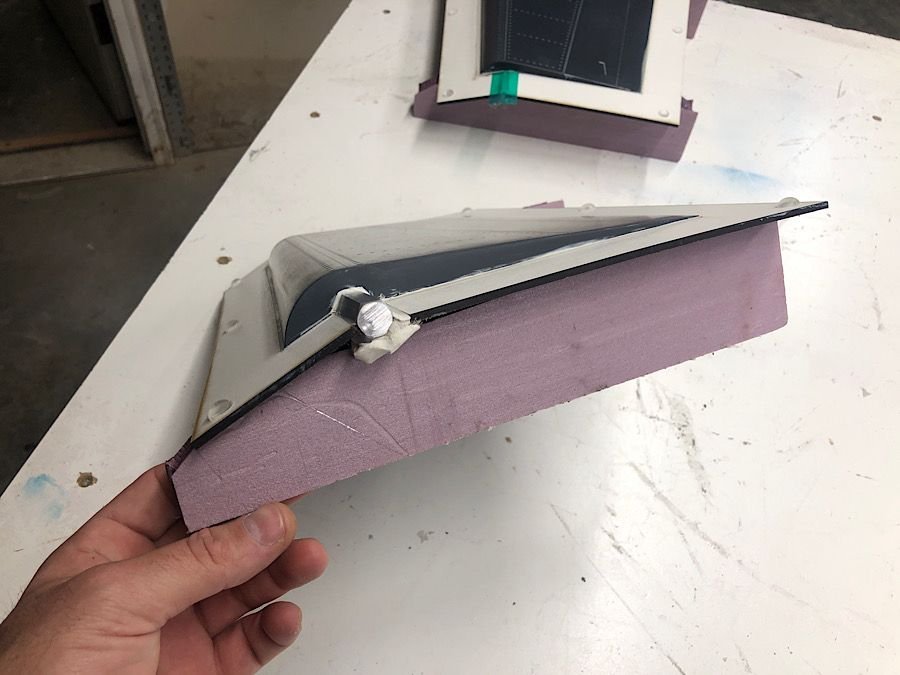
With the madness that is Covid19, i have alot of time off this month.... so much so that i�ll likely be able get all of the small parts for the T38 molded and only have the fuel tanks and fuselage left to mold..
Got some Ho229 goodness done and got around to some T38 goodness.
First up, i opened up and washed the rudder mold, it turned out Awesome.. so now i need to do the same to the Horizontal stabs so i can get these molds cleaned and Frekote�d:
I also got the flaps in their parting planes with the gaps filled, waxed and then sprayed PVA, im planning to mold these this weekend.
With the madness that is Covid19, i have alot of time off this month.... so much so that i�ll likely be able get all of the small parts for the T38 molded and only have the fuel tanks and fuselage left to mold..
The following users liked this post:
Auburn02 (04-07-2020)
04-08-2020, 06:04 PM
#88
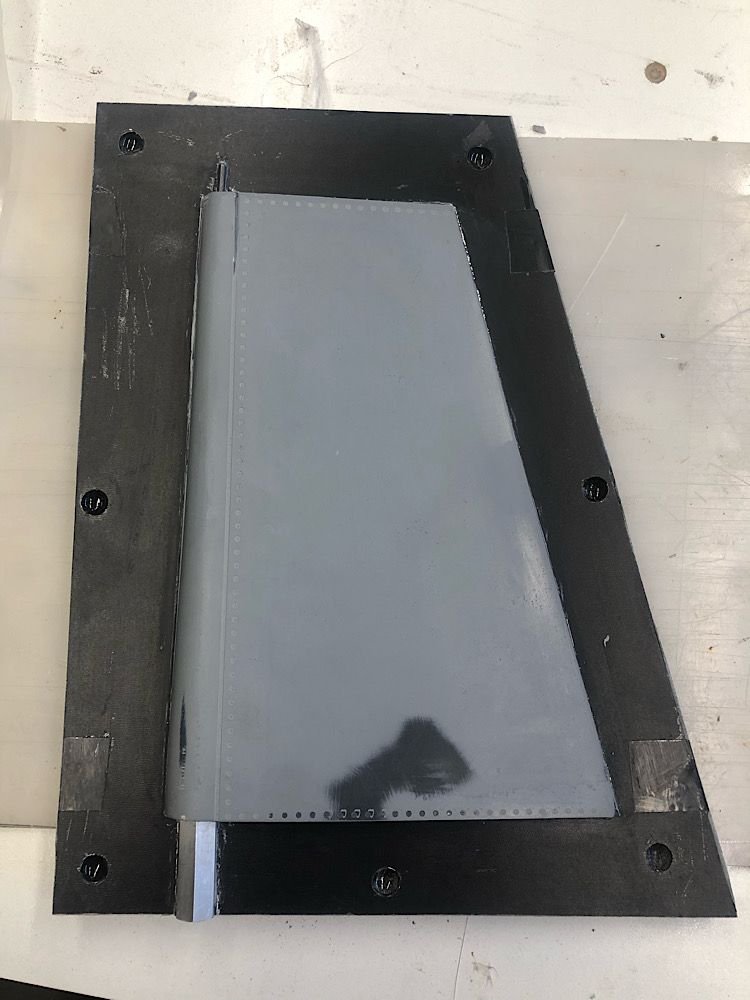
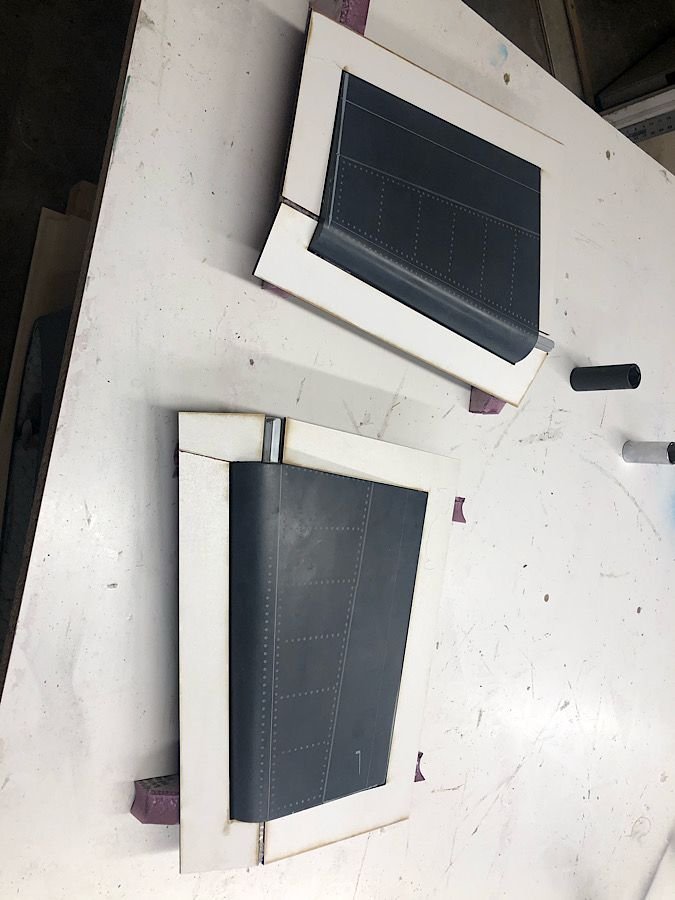
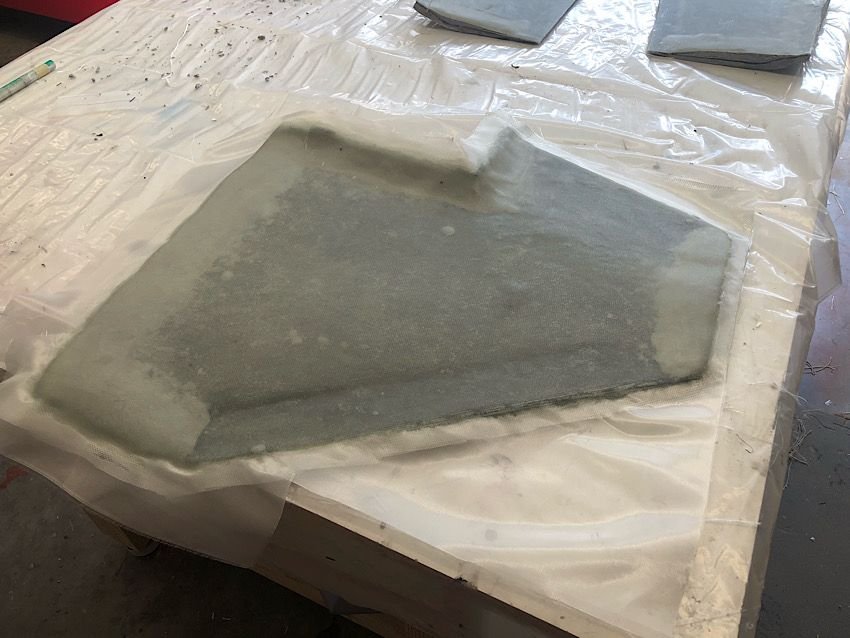
last night i got the first side of the vertical stab molded and trimmed.
here it is with the surface resin in place.
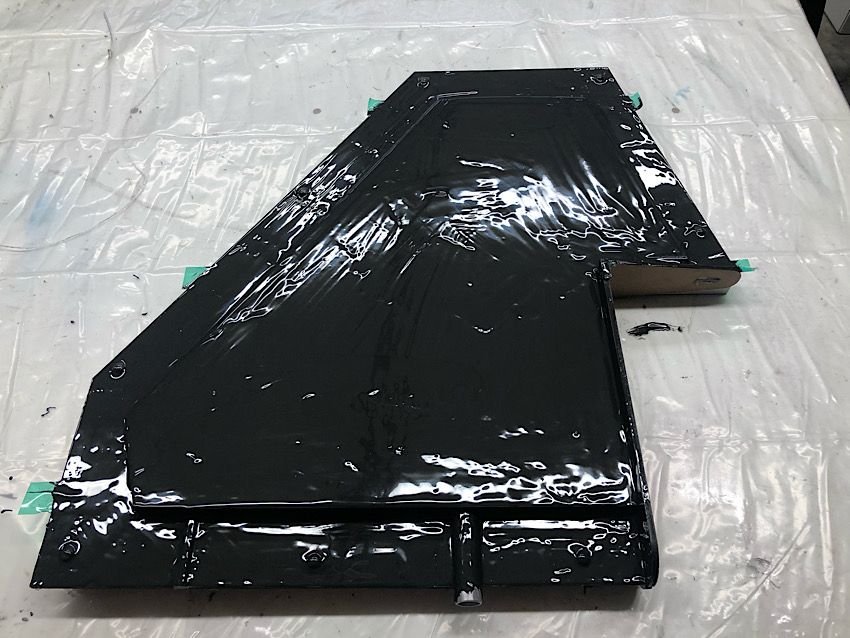
then after about 45 minutes when the resin has cured a bit to where it becomes �stringy� when you touch your finger to it and pull away, i applied some 1.4oz glass strips so the edge of the strip was butted up against the edge or corner of the part/parting plane. This allows the glass to �sink� into the surface resin slightly in an effort to help avoid chipping of the corners.
first side is now all done and curing until its time to trim it once the layup has gone �green�... IE its not completely cured, the laminate can still be flexed with pressure, but isnt wet and sticky to the touch.
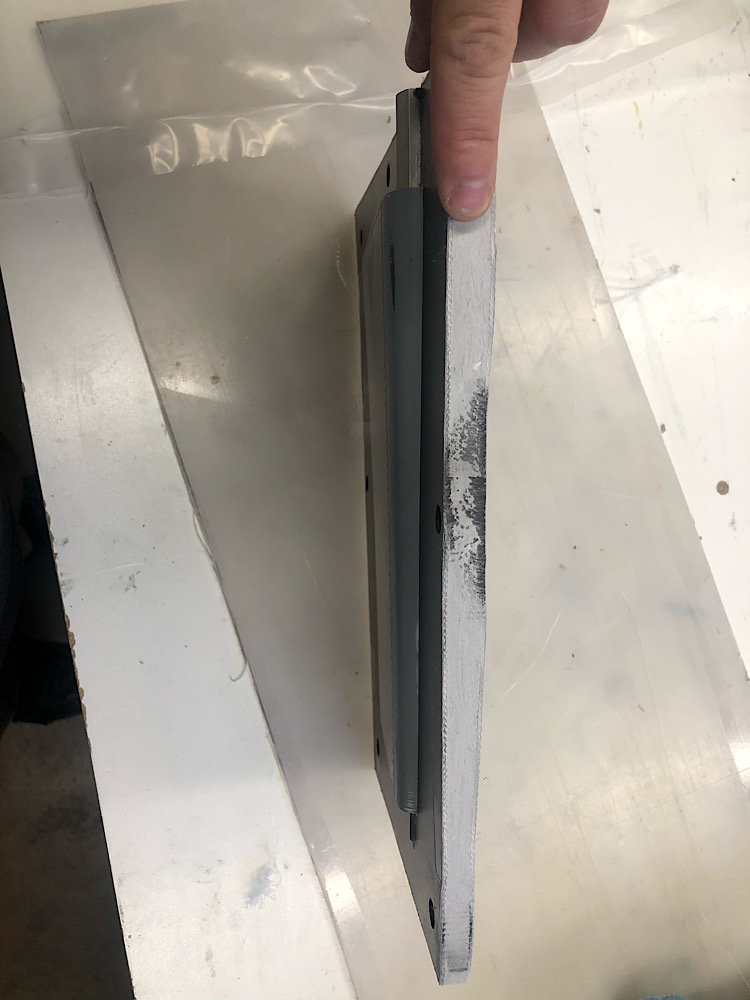
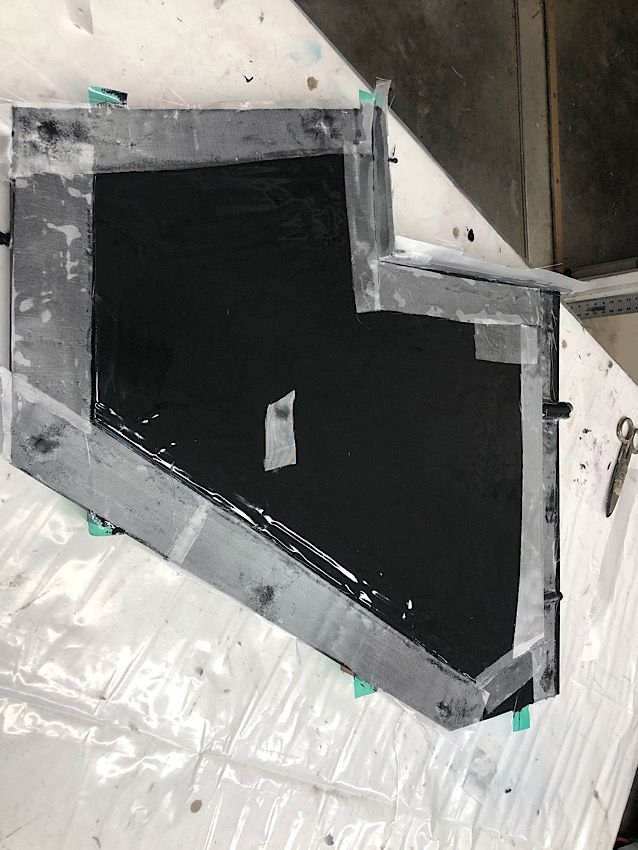
the next morning, the first side is sanded flush with the edges of the parting planes, the parting planes removed, the opposite side waxed and then PVA was sprayed.
6 hours later the second side of the mold was done.
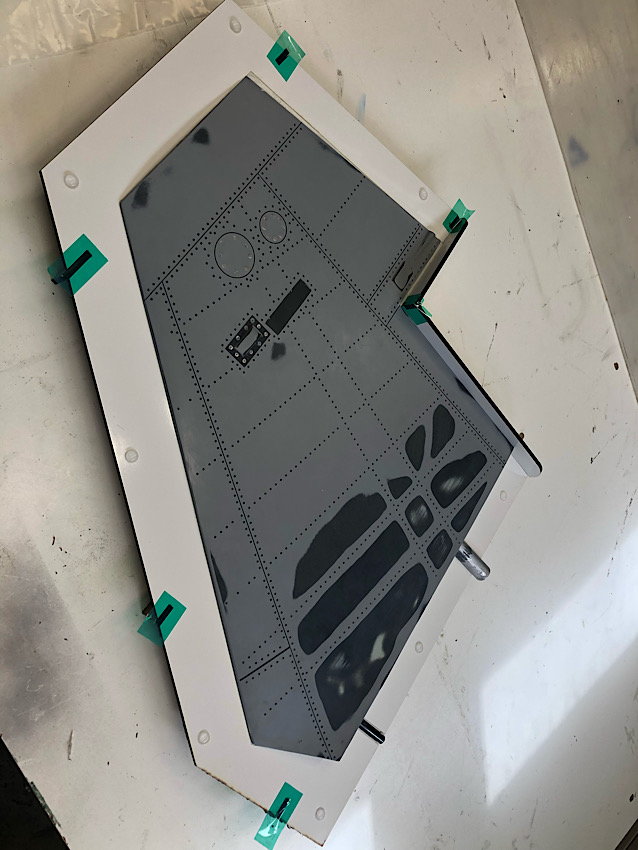
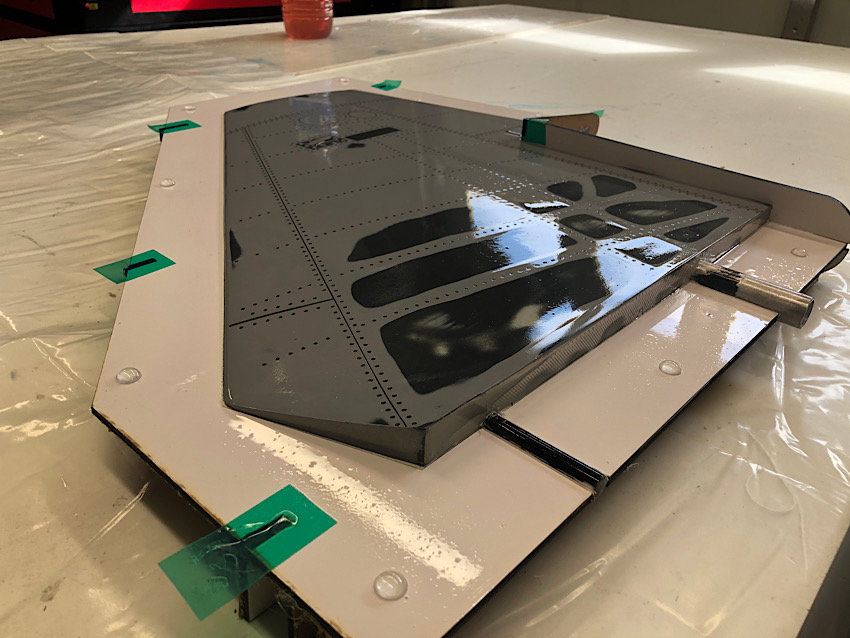
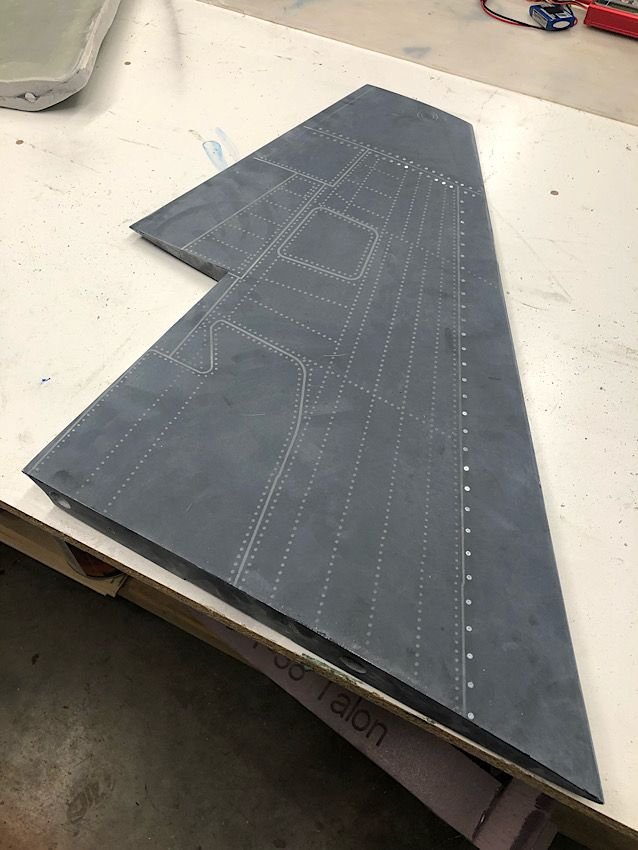
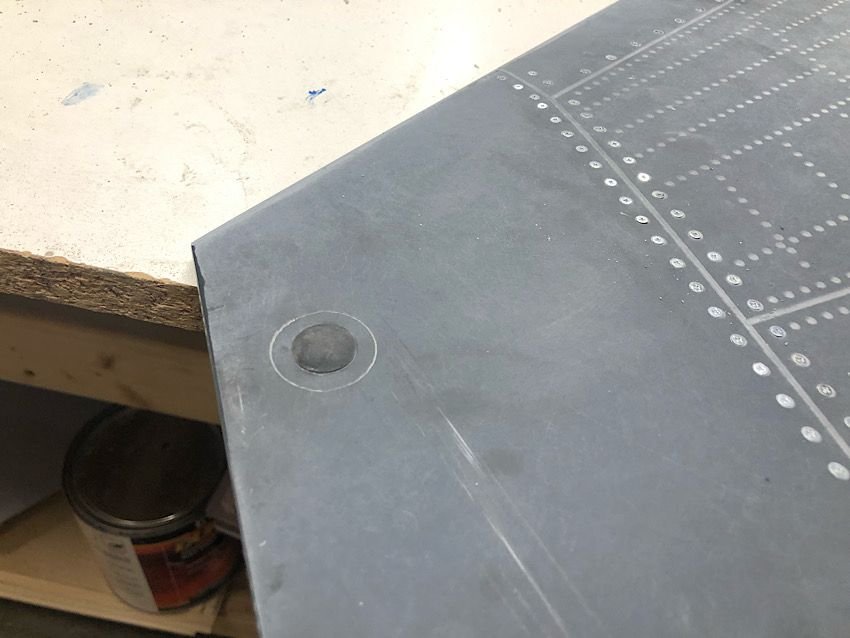
While listening to a MEC chairman phonecall about current negotiations with the company bc of this Squirel Flu (my wifes term for Covid 19.... �people have gone nuts and are hoarding everything�) I finished the detailing of the left wing panel by installing all of the #1 screws and the nav light lense bulge.
here it is with the surface resin in place.
then after about 45 minutes when the resin has cured a bit to where it becomes �stringy� when you touch your finger to it and pull away, i applied some 1.4oz glass strips so the edge of the strip was butted up against the edge or corner of the part/parting plane. This allows the glass to �sink� into the surface resin slightly in an effort to help avoid chipping of the corners.
first side is now all done and curing until its time to trim it once the layup has gone �green�... IE its not completely cured, the laminate can still be flexed with pressure, but isnt wet and sticky to the touch.
the next morning, the first side is sanded flush with the edges of the parting planes, the parting planes removed, the opposite side waxed and then PVA was sprayed.
6 hours later the second side of the mold was done.
While listening to a MEC chairman phonecall about current negotiations with the company bc of this Squirel Flu (my wifes term for Covid 19.... �people have gone nuts and are hoarding everything�) I finished the detailing of the left wing panel by installing all of the #1 screws and the nav light lense bulge.


The following users liked this post:
tp777fo (04-09-2020)
 04-10-2020, 12:53 PM
#93
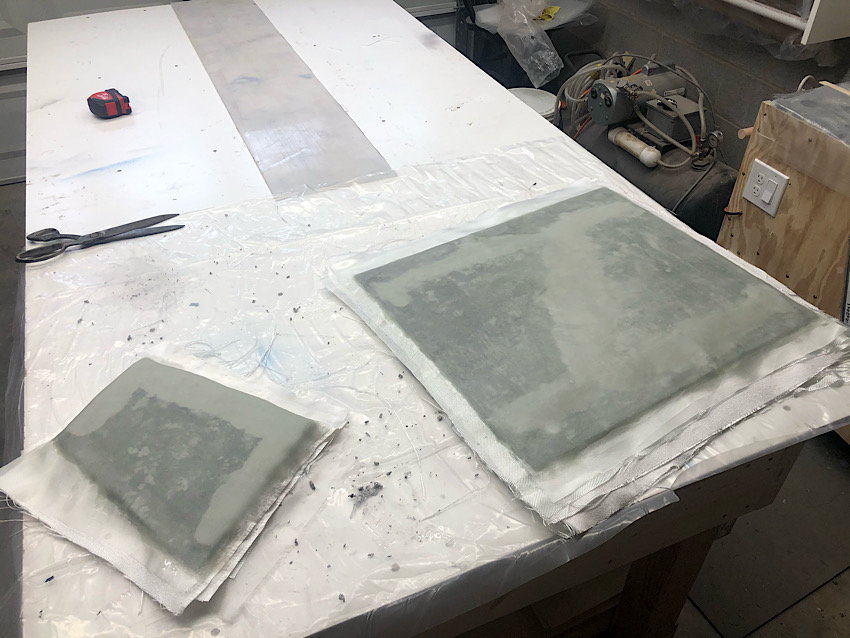
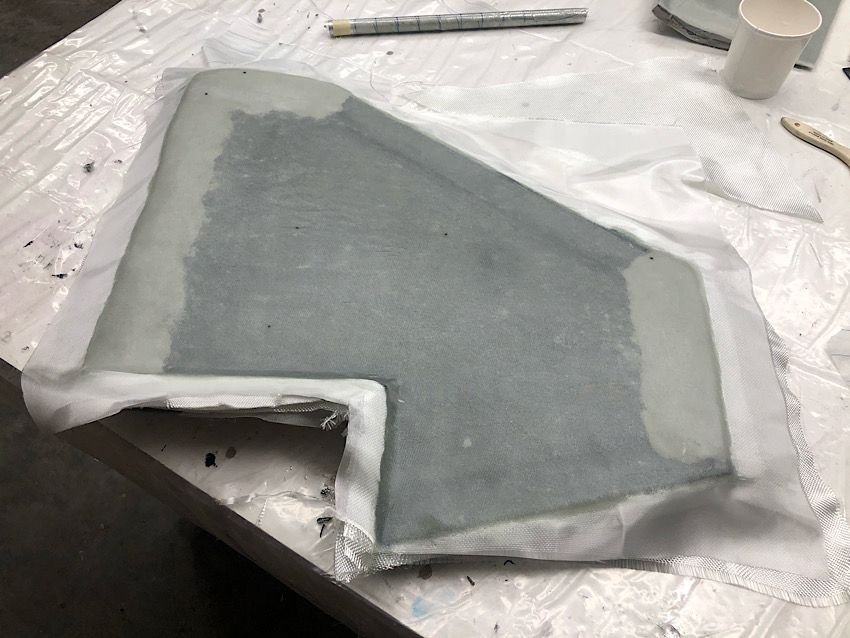
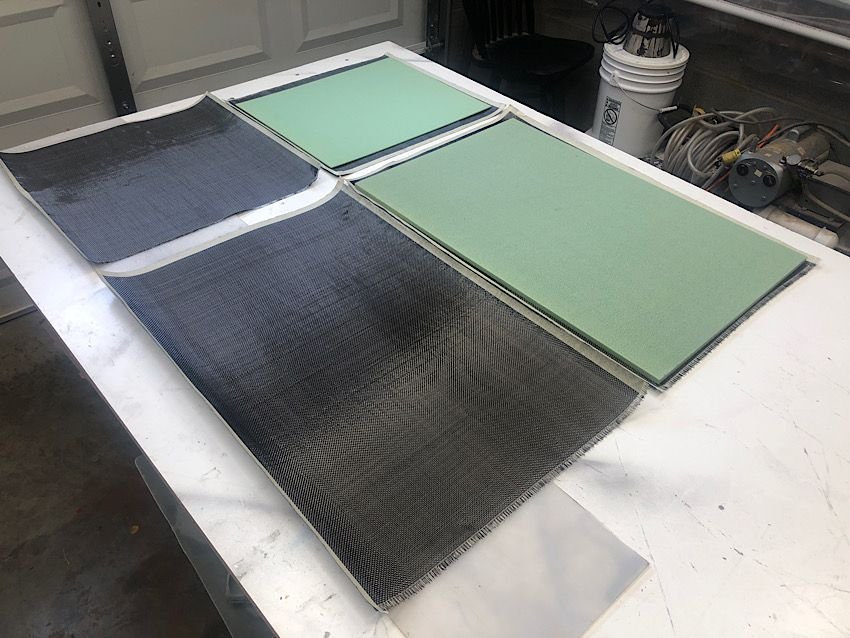
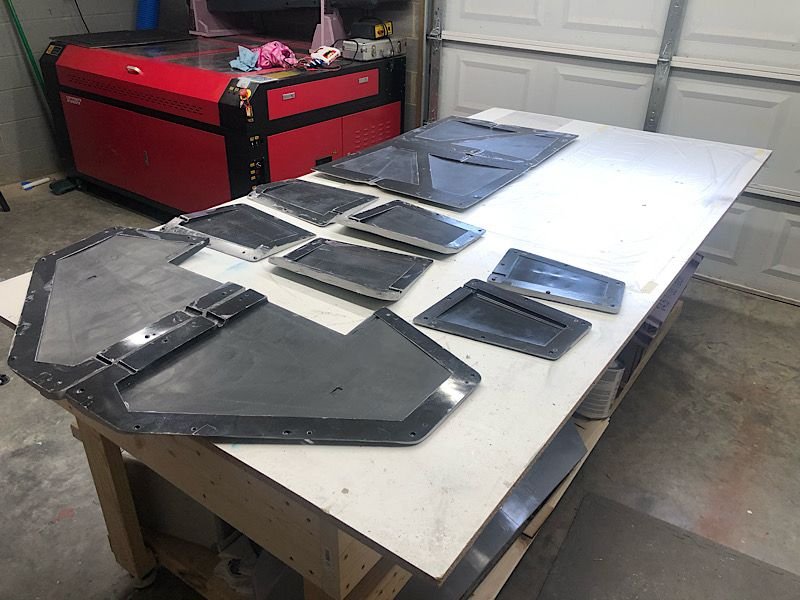
The Carbon/ Airex panels are done.
I also opened up all the molds, drilled the clamping bolt holes and washed the wax/pva off of them. Once they dry, i will clean them with frekote mold cleaner and then start applying the frekote mold release.


I also opened up all the molds, drilled the clamping bolt holes and washed the wax/pva off of them. Once they dry, i will clean them with frekote mold cleaner and then start applying the frekote mold release.
04-13-2020, 06:35 PM
#95
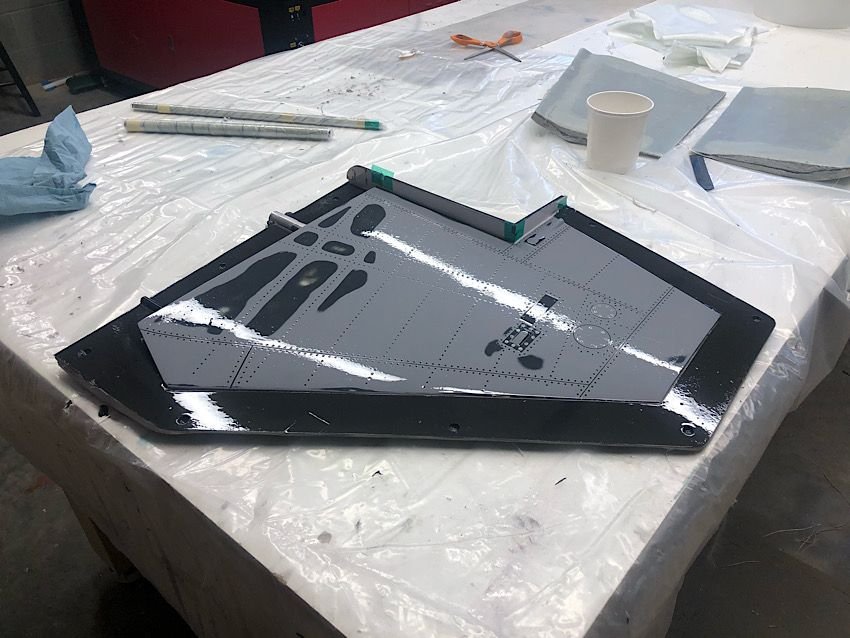
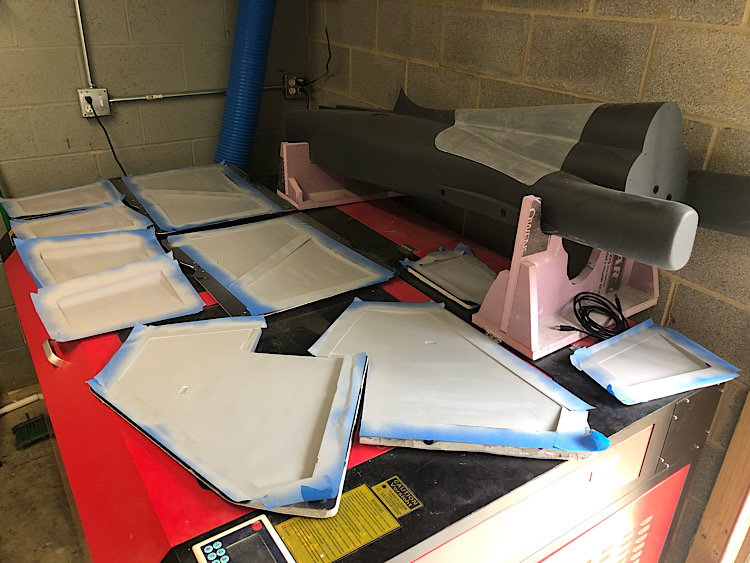
The molds that are done have been cleaned and treated with Frekote mold cleaner, Frekote mold sealer (FMS) and Frekote 770NC. They were then sprayed with primer:
I then printed off some paper test templates for the Airex core material that i drew up in CAD and plan to laser cut:
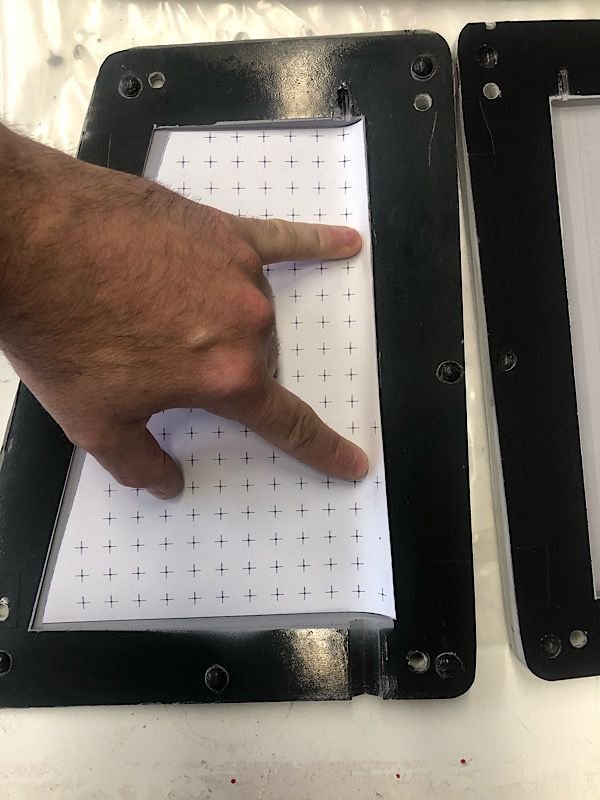
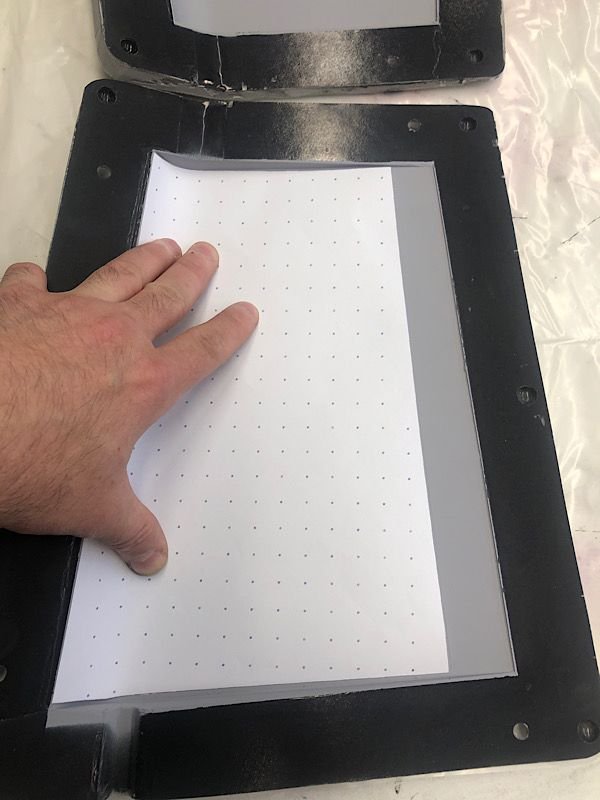
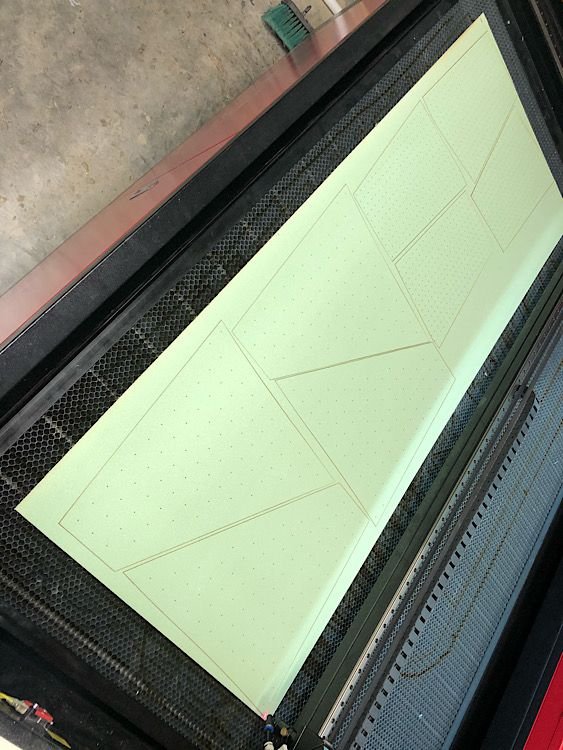
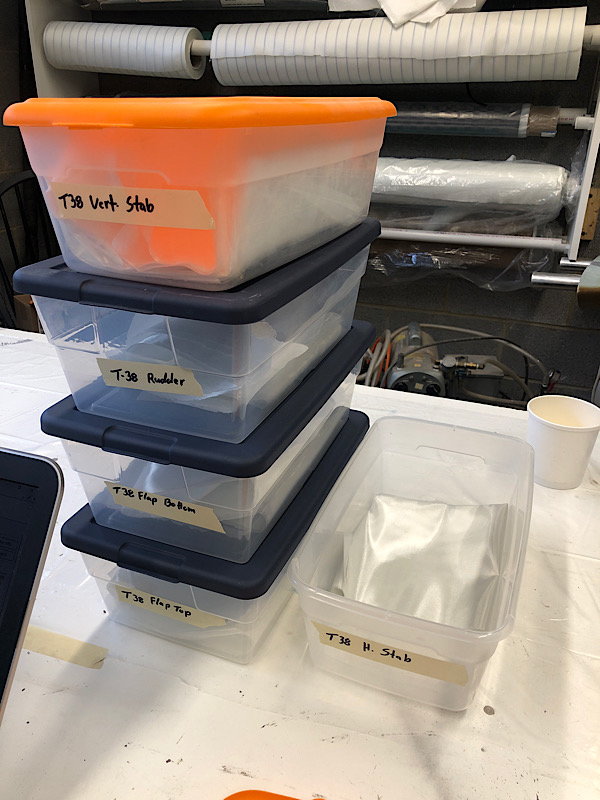
With the paper test templates fitting perfectly, i went ahead and laser cut all of the airex cores for the vertical stabilizer, both flaps, horizontal stabs and 6 rudders:
I then decided to push the envelope to see how lazy I could be and decided to laser cut the fiberglass fabric layers for the rudder. And for those now wondering, No, the laser wouldnt cut carbon.
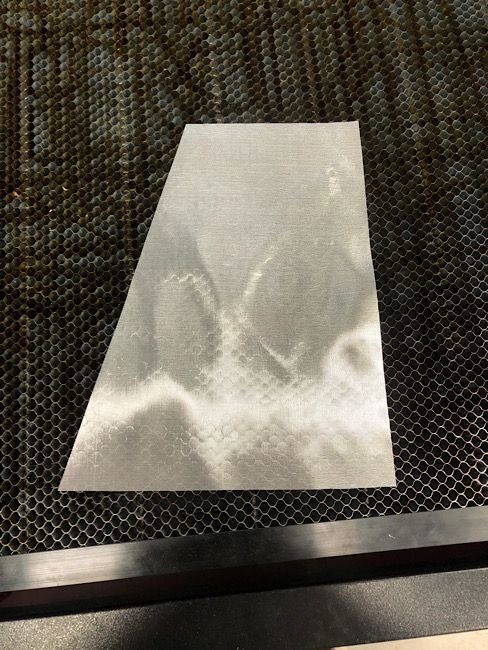
your also probably wondering why i have 12 pieces of fabric for a rudder.. well. I cut out enough for 2 rudders to make the most out of the fabric.
the nicest thing about these being laser cut, the fabric doesnt fray which means i can cut out all the glass layers smaller than what would be needed if cut conventionally.
I then printed off some paper test templates for the Airex core material that i drew up in CAD and plan to laser cut:
With the paper test templates fitting perfectly, i went ahead and laser cut all of the airex cores for the vertical stabilizer, both flaps, horizontal stabs and 6 rudders:
I then decided to push the envelope to see how lazy I could be and decided to laser cut the fiberglass fabric layers for the rudder. And for those now wondering, No, the laser wouldnt cut carbon.
your also probably wondering why i have 12 pieces of fabric for a rudder.. well. I cut out enough for 2 rudders to make the most out of the fabric.
the nicest thing about these being laser cut, the fabric doesnt fray which means i can cut out all the glass layers smaller than what would be needed if cut conventionally.
The following users liked this post:
Auburn02 (04-16-2020)
04-15-2020, 06:21 PM
#97
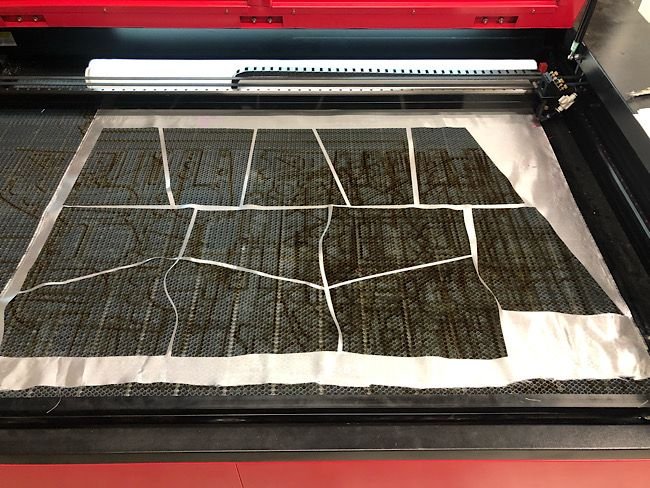
I spent a few hours this morning getting fabric layers cut out in the laser for a few airframes worth of flaps, rudders, vertical and horizontal stabs.
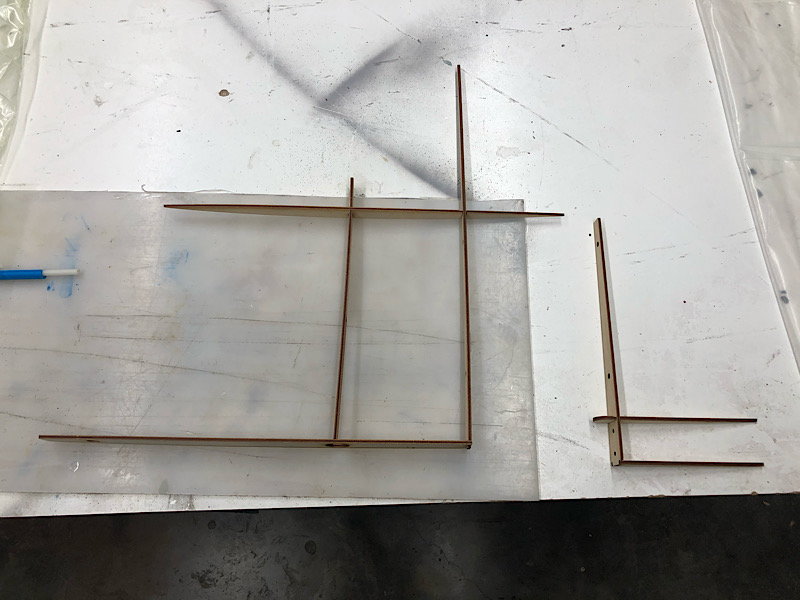
I then laser cut the vertical stab and rudder test internals. These are all cut from 1/8� lite ply before getting cut from the carbon/airex material or aircraft ply.
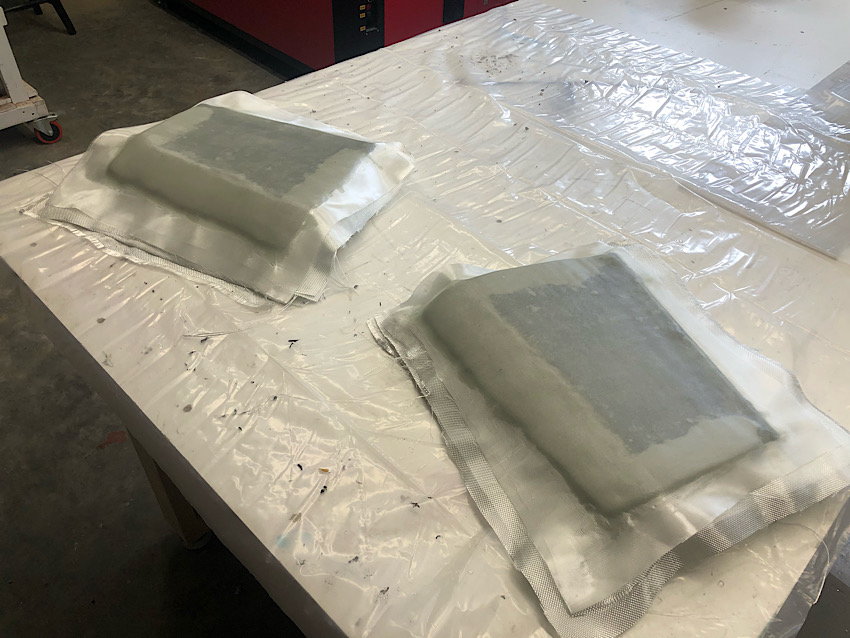
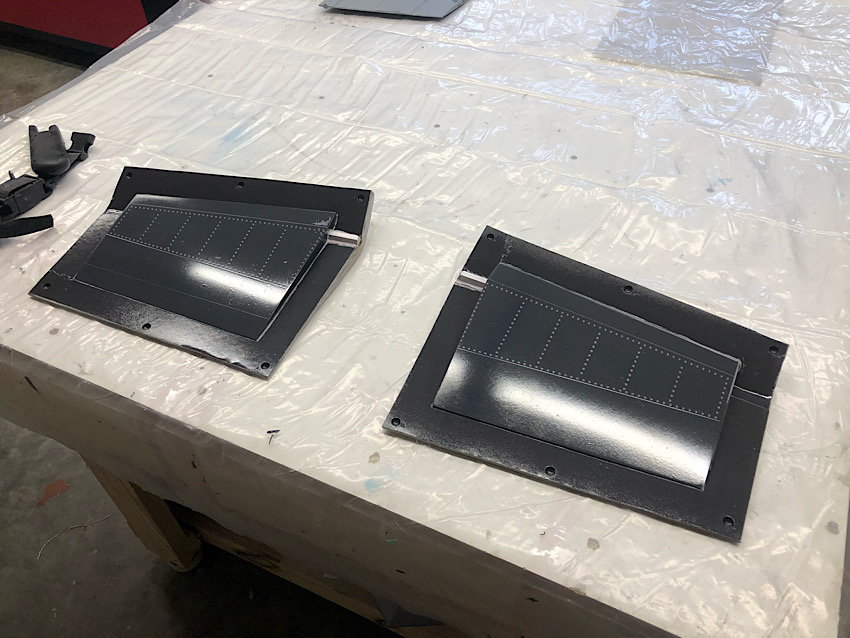
i then mixed up some thickened epoxy, put a small bead into the corners of the parts and put a light layer of 3/4oz glass in the flaps and a layer of 1.4oz glass in the rudder and left this to �go green�. This first layer isnt vacuum bagged so that the details stay crisp on the part.
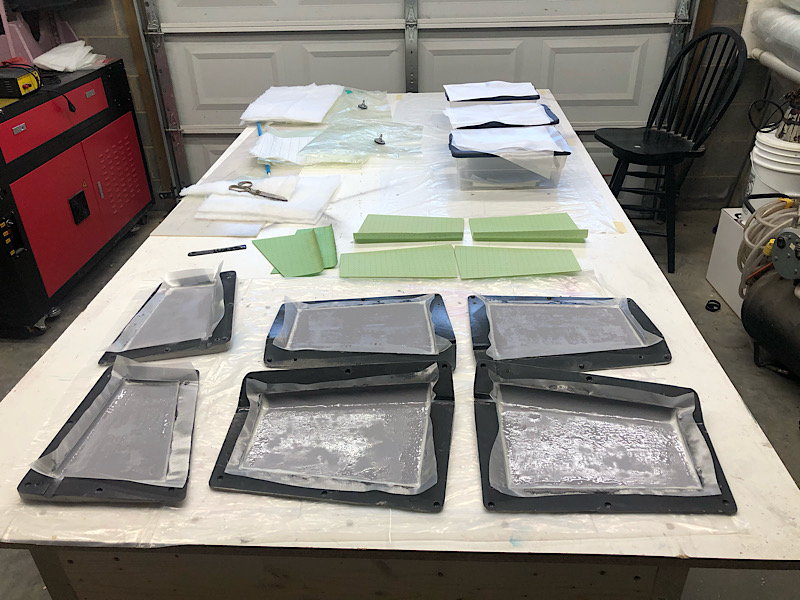
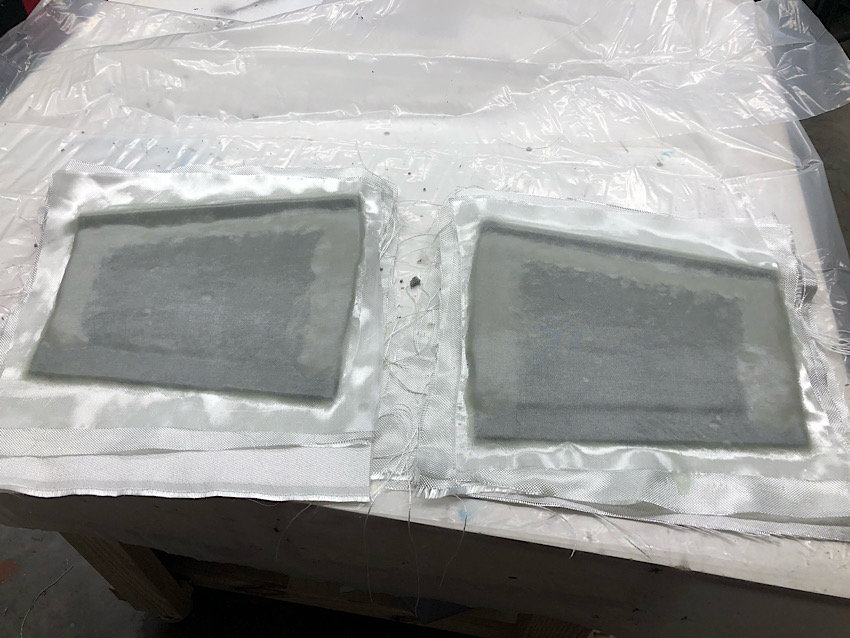
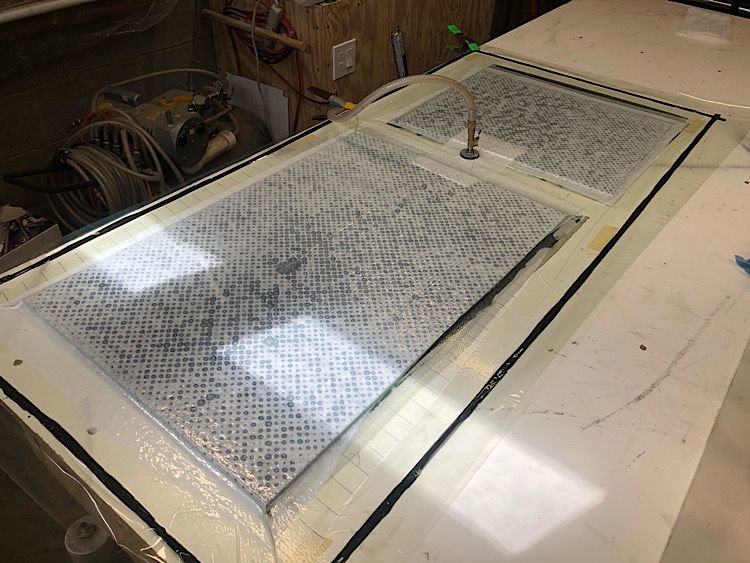
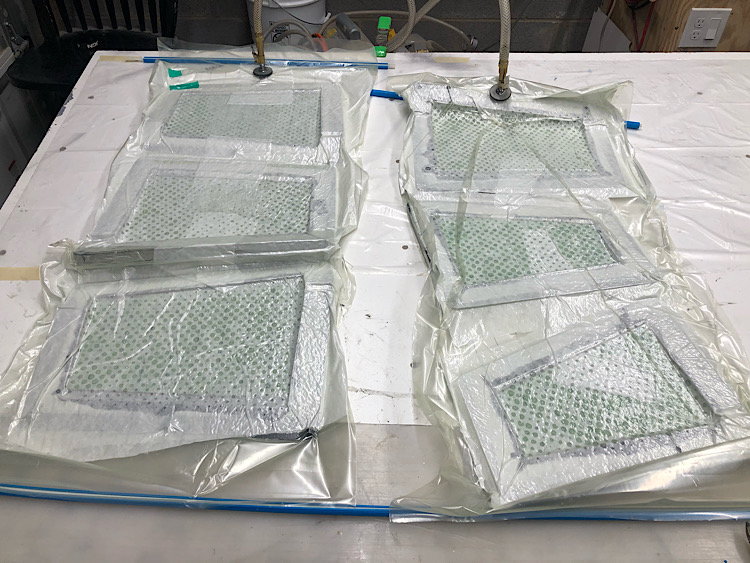
After about an hour i started stacking the glass fabric, airex, peel ply, Perforated release film and bleeder fabrics. I was then stuffed in a vacuum bag and will be left to cure overnight.
I then laser cut the vertical stab and rudder test internals. These are all cut from 1/8� lite ply before getting cut from the carbon/airex material or aircraft ply.
i then mixed up some thickened epoxy, put a small bead into the corners of the parts and put a light layer of 3/4oz glass in the flaps and a layer of 1.4oz glass in the rudder and left this to �go green�. This first layer isnt vacuum bagged so that the details stay crisp on the part.
After about an hour i started stacking the glass fabric, airex, peel ply, Perforated release film and bleeder fabrics. I was then stuffed in a vacuum bag and will be left to cure overnight.
04-16-2020, 03:17 AM
#99

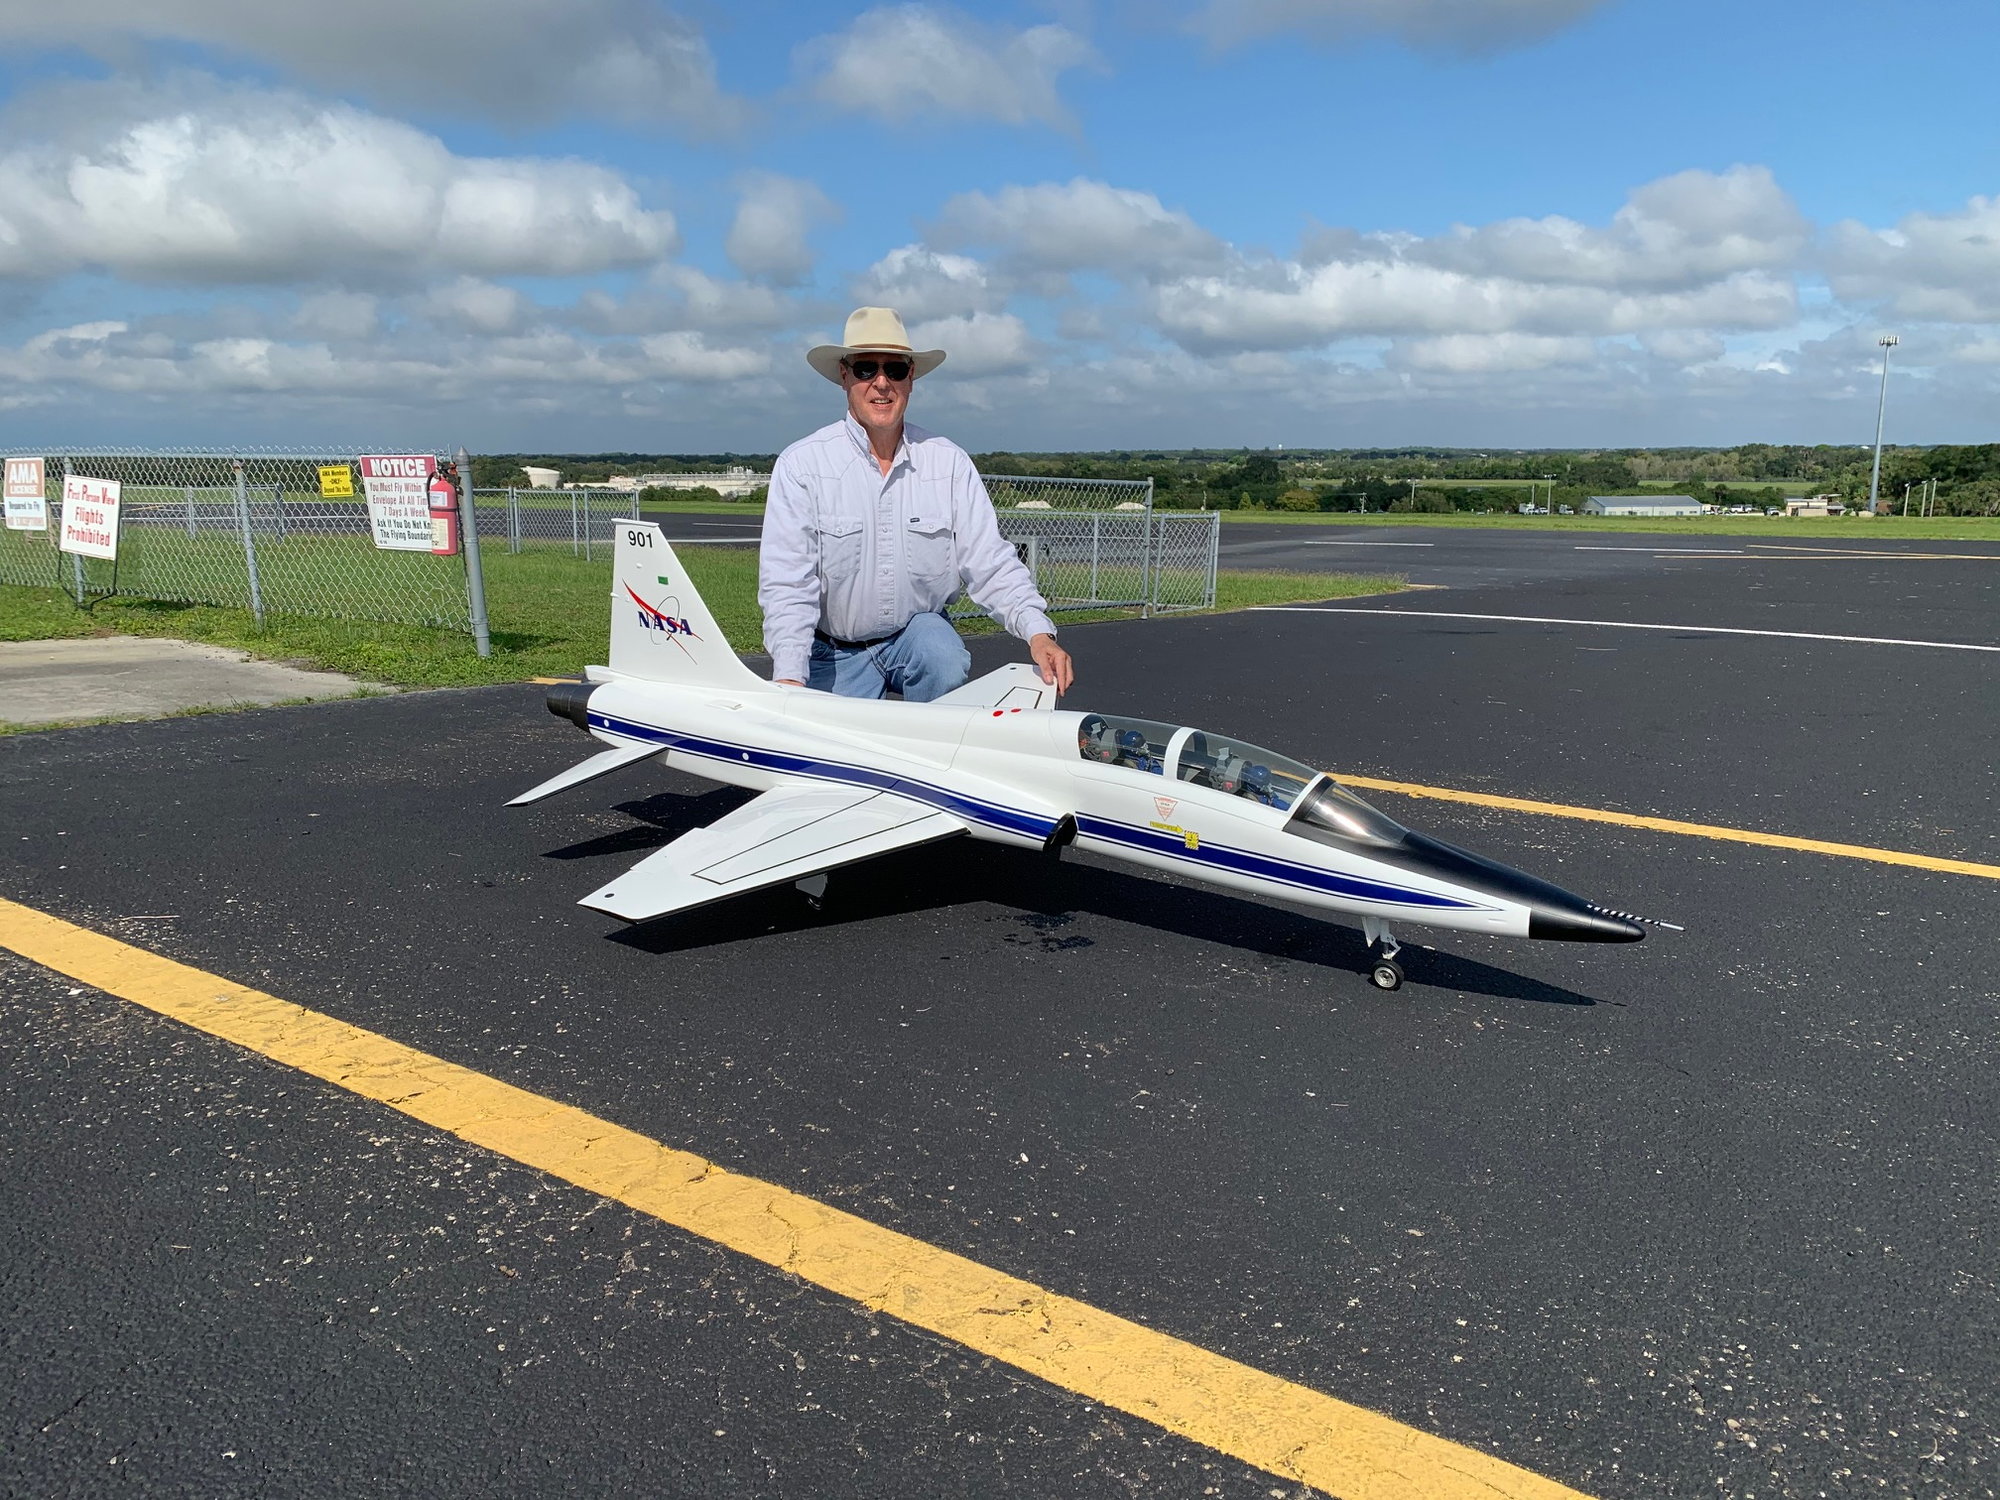
If you could make this into a 3 piece wing so the landing gear would stay with the model for transpiration I would buy it. Heres mine right now.
The Skymaster Northrop T-38 Talon Project of 2019
AEHaas
The Skymaster Northrop T-38 Talon Project of 2019
AEHaas
04-16-2020, 09:17 AM
#100
If you could make this into a 3 piece wing so the landing gear would stay with the model for transpiration I would buy it. Heres mine right now.
The Skymaster Northrop T-38 Talon Project of 2019
AEHaas
The Skymaster Northrop T-38 Talon Project of 2019
AEHaas
your about 18 months to late with that request. That would require a complete redesign of the entire airframe.